How to schedule Threads posts
Schedule from the composer or calendar using your timezone, saved timeslots, and best-time suggestions.
How scheduling works
Scheduling stores the selected local date and time, converts it to UTC, and saves the post as scheduled. A console command runs every minute and publishes due posts.
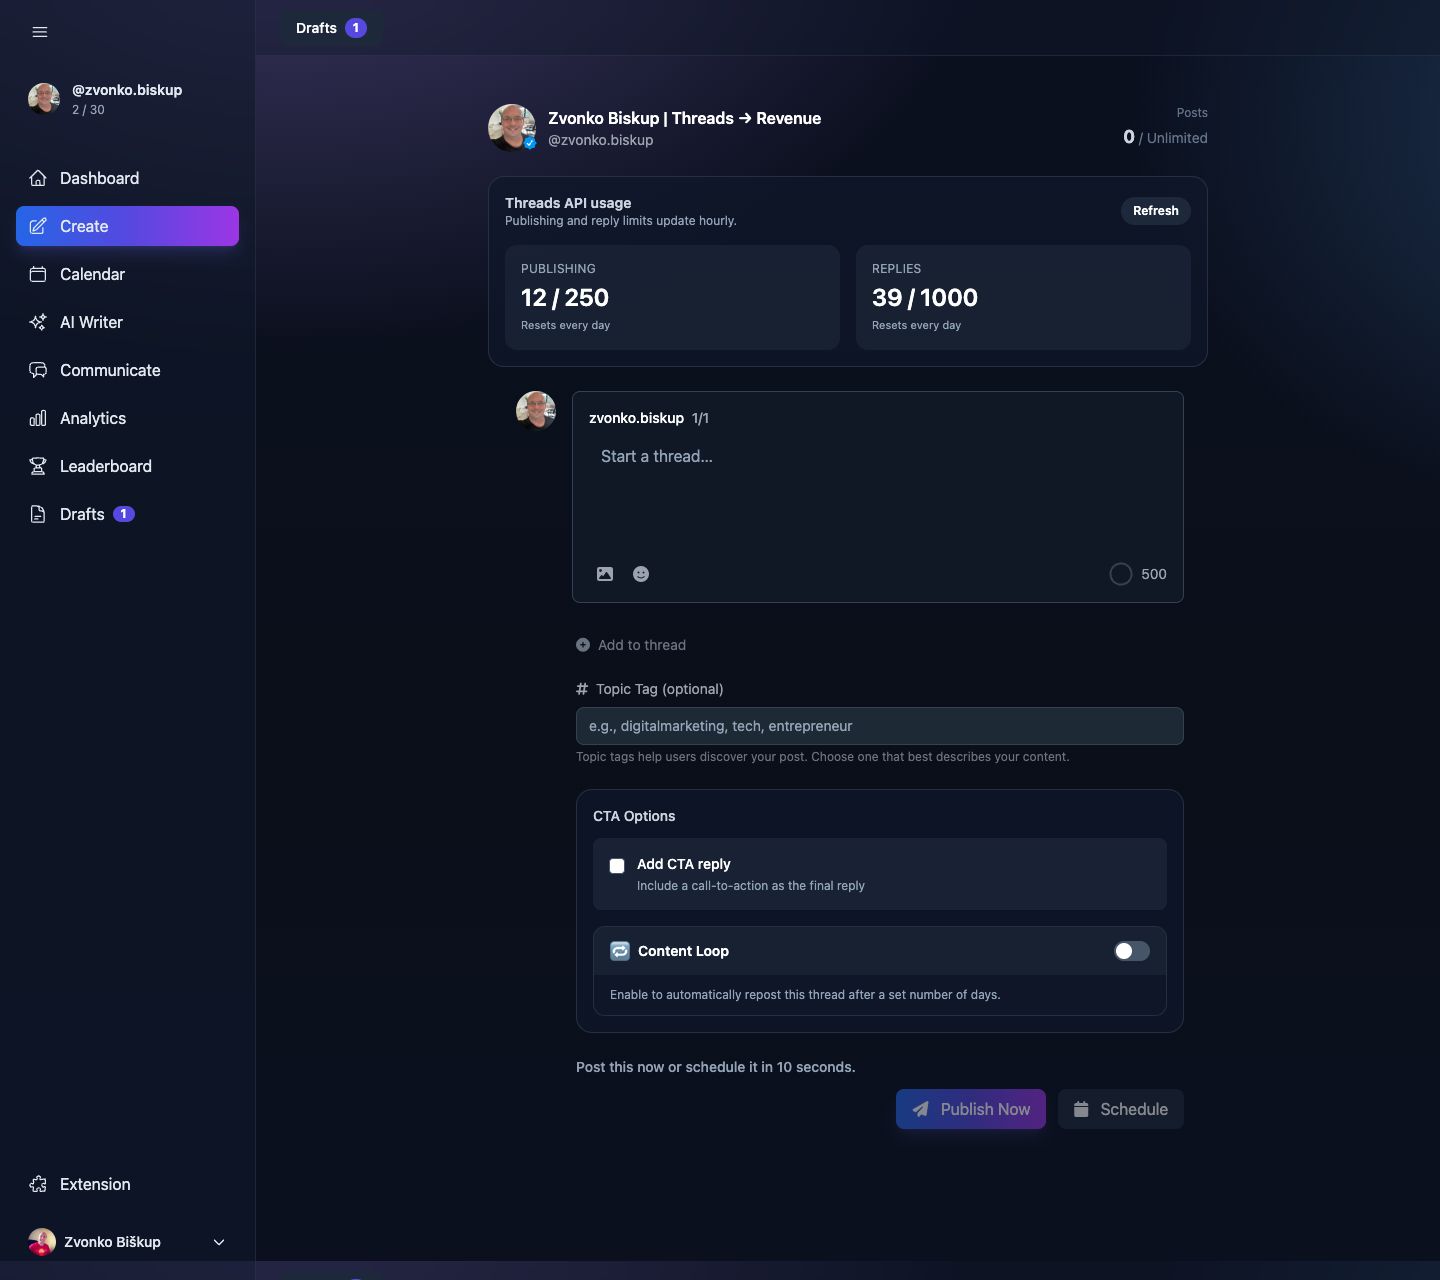
Scheduling a post
- Compose a draft in Create or open a draft from Calendar.
- Open the schedule modal.
- Pick a date and time, or use a saved slot, or use best-time suggestions.
- Confirm. The post remains editable and keeps its
scheduledstatus.
Timezones
The modal shows all times in the user timezone from Settings. The saved post also keeps the timezone string alongside the UTC timestamp.
Saved time slots
If a profile has saved time slots, the modal shows Next free slot and Pick a slot. Those come from the per-profile time slot table in Settings.
Cancelling a scheduled post
Unscheduling a scheduled post moves it back to draft and clears the schedule fields.
Daily and monthly limits
Before scheduling or publishing, the API checks both the user plan and the target Threads profile. The app can block you for a daily profile limit or a monthly profile limit.
Paid plans can also schedule Momentum Drop and Content Loop settings from the same flow.
What happens if publishing fails
If publishing fails, the job stops at the failing step. For multi-part threads, already published earlier parts stay live and the system keeps enough IDs to resume safely.